Before, during and after you go on a trip, there are a few things to consider to improve your pictures as a photographer, no matter where the place is. Why do some people seem to get crappy shots, others seem to have loads of postcard shots while some people take off to the beaten path with creative shots? How can I get those iconic shots while still maintaining creative control on what you shoot?
12 Ways to Shoot the Perfect Travel Photograph:
1. Make a wish-list
Even if you like to be spontaneous on your travels, it’s always a good idea to have a wish-list of things that you would like to see or experience while you’re away. Your list doesn’t have to be exhaustive and neither do you have to tick off everything on it, and it certainly isn’t intended as a minute-by-minute schedule of your time away: it’s there to help you plan and ensure that you don’t miss your must-see highlights.
You wouldn’t want to miss out on a tour of the Jumeirah Mosque in Dubai because you didn’t know which days it were open; or not experience the atmosphere around Hong Kong Central station on a Sunday when the peninsular’s army of live-in maids congregate to sing, paint their nails, chat, and eat because you stayed on Kowloon that day.
Having a vague plan will mean that you get to experience some of the drama and wonder of travelling but still have the opportunity to relax.
2. Be ready
Photo opportunities are everywhere and you want to be ready to pounce when you see one. You don’t want to miss out on shots because your camera was switched off or because the exposure settings were out by a country mile. When you’re out and about with your camera, be ready. Remember to re-set your ISO and shutter speed after a night shoot. Have you camera to hand on a bus or train, not in the luggage compartment. And have a smartphone or compact camera with you when you pop out for a bottle of water. You never know what you might see!
3. Be Aware of the Sun
This is the most important tip of the lot. Ideally, you want the sun behind you so that your subject is fully lit. If the sun is behind your subject you’ll end up with a much darker, poorly lit image. While this can be done intentionally for effect, for most shots you’ll want the sun to properly light your subject.
4. Get Creative
Don’t just take the same shot every time. Mix it up and get creative. Instead of having the sun behind you, take advantage of the harsh light for a more interesting image. Try shooting into the sun to create silhouettes, or use a high aperture to create a starburst effect.
5. Use the Weather
Think about how you can use the weather to your advantage. How can you embrace a grey sky or a rainy landscape to capture a unique photo? How can you snap a picture of a blue sky without it being boring? Be aware of the weather so you can adjust your style and subject accordingly. For example, when the sun is behind clouds, the light is diffused.
6. Get the “postcard” shots first
Typical for travel photography, people often expect you to get the cliché, postcard shots that are iconic to each city. While you might not like the over-photographied postcard shots, your friends and family are expecting you to show these shots to them when you get back. By getting the postcard shots covered first, you are now free to let your creativity take over and shoot for the rest of your trip more creatively.

7. Tour the place like a local
Obviously, tourists often gather in highly crowded places designed for them. But if you wish to improve your travel photography, you’ve got explore like a local too. No, I am not saying that all tourist hotspots are inherently bad and that local neighbourhoods are a must, but you arguably have a much higher chance to take better and more creative pictures in lesser-known places.
8. Find creative angles for compelling pictures
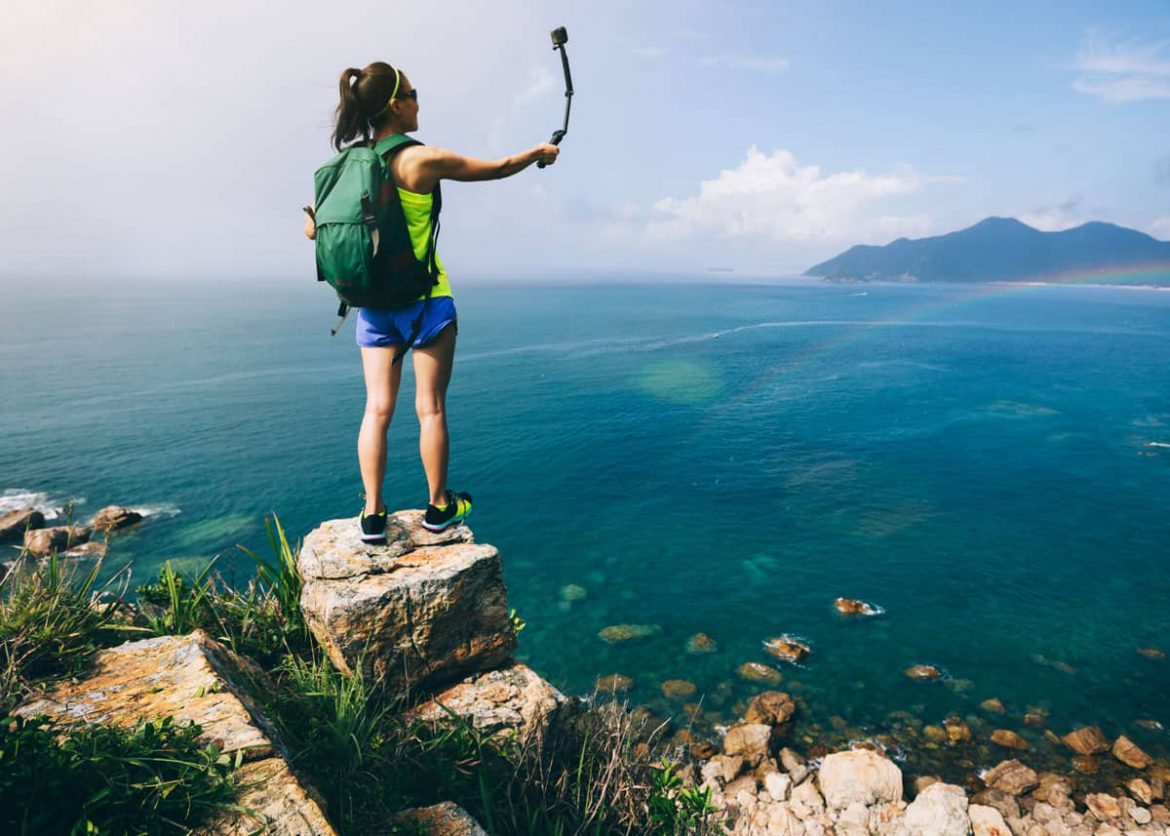
One of the best ways to get better pictures and to improve your travel photography is simply to shoot at different angles and perspectives. Shoot straight up, get down low, shoot diagonally, everything is allowed. You can even use a monopod and use a timer or remote shutter to get on top of a massive crowd
9. Composition
Now this may seem like a no-brainer, but when you are traveling and have to shoot from the hip (maybe at some once-in-a-lifetime festival or event) it is important to have an understanding of the rule of thirds and how to employ it quickly and effectively. Imagine that your photo is cut into thirds like the grid on the photo below.
We want to make sure that the main focus of the photo is not in the center square. Placing the subject either in another section or where the lines intersect gives the photo more impact and more energy than just centering it. So, the next time you are taking a photo, give it a try and see the difference for yourself.
10. Don’t shoot excessively
Pretend that you are shooting with a film camera (or shoot using one for real). With only 24/36 exposures per roll, I’m pretty sure that you won’t be spamming that shutter as much as you would do now. Digital does have its advantages by its unlimited frames, allowing you to shoot and experiment without worrying about cost, but there is a line between taking a reasonable amount of pictures at different angles and shameless shutter spamming. If you feel a compulsive need to burst every single time you shoot, than you probably fall into the latter category. Remember, quality over quantity. By shooting excessively, not only does it teach you bad photo habits, but you will also miss a lot of the experience and enjoyment a trip comes with.
11. Master Taking Pictures of Landscapes
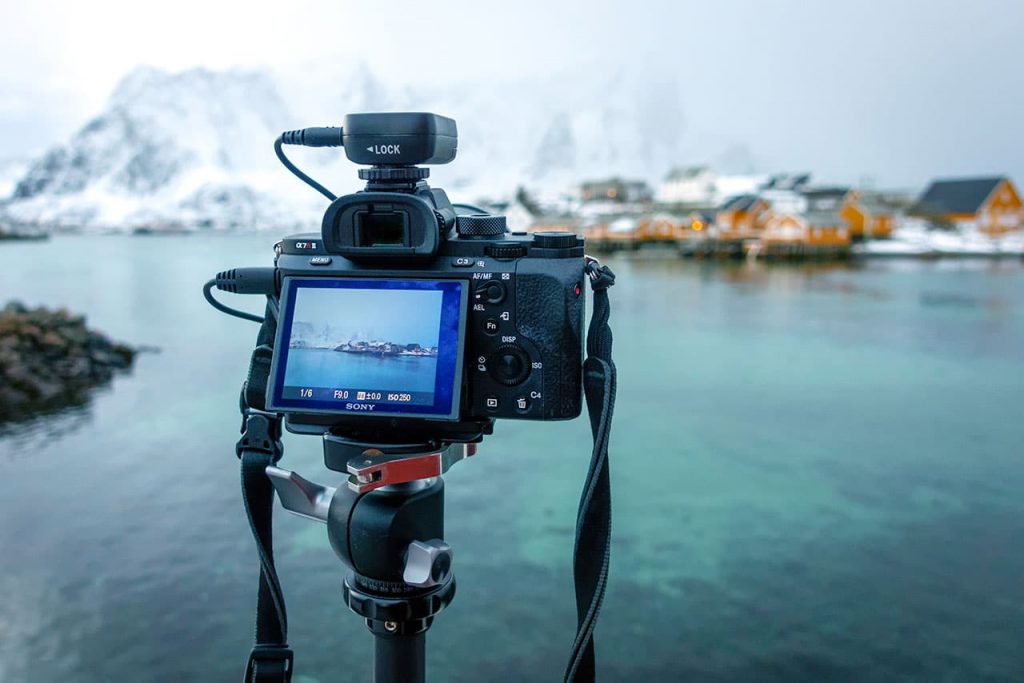
There are two things that helped my landscape photography improve: a tripod and a polarizing filter. Controlling depth of field is a key part of landscape photography. Unfortunately, as you increase the aperture the shutter speed becomes slower — to the point where your hand movement can result in a blurry image. This is why you need a tripod.
12. Get Action Shots
For better action photos, you have two options. One is to use a fast shutter speed to “freeze” the action — such as a shot of a hummingbird in flight, or a surfer on a wave.
The other option is to show the motion by using a longer shutter speed — the resulting blur will convey a sense of action to your viewer.
